
[FortiGate] Install FortiGate dengan GNS3
بِسْمِ اللَّهِ الرَّحْمَنِ الرَّحِيم
Halo, dalam lab kaliini saya akan menunjukkan kepada kalian cara menambahkan Fortigate ke GNS3, serta cara melakukan konfigurasi jaringannya, dan cara mengakses FortiGate melalui CLI (Command-Line) dan web. Kuy Gaskeun ~
Requirements
- GNS3 / GNS3VM (Kita pake GNS3)
- Download FortiGate appliance from Here!
- Download FortiGate 6.0.0 Image from Here!
Selanjut nya kita Import appliance dan image FortiGate ke GNS3.
Start a new blank project, click File > Import Appliance, lalu pilih FortiGate appliance file (.gns3a).
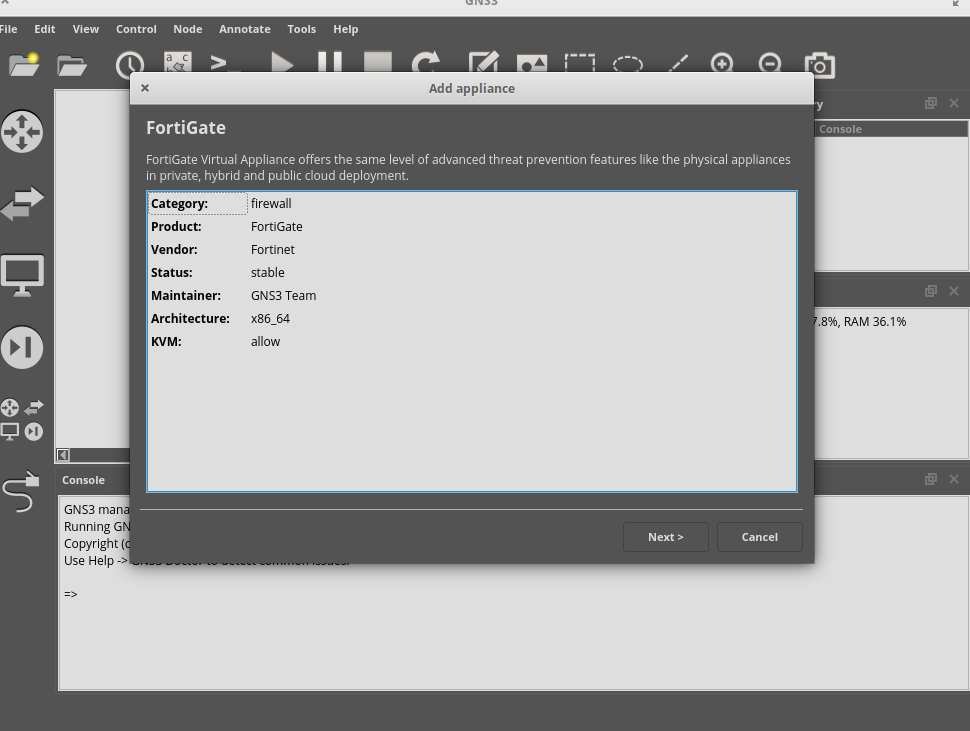
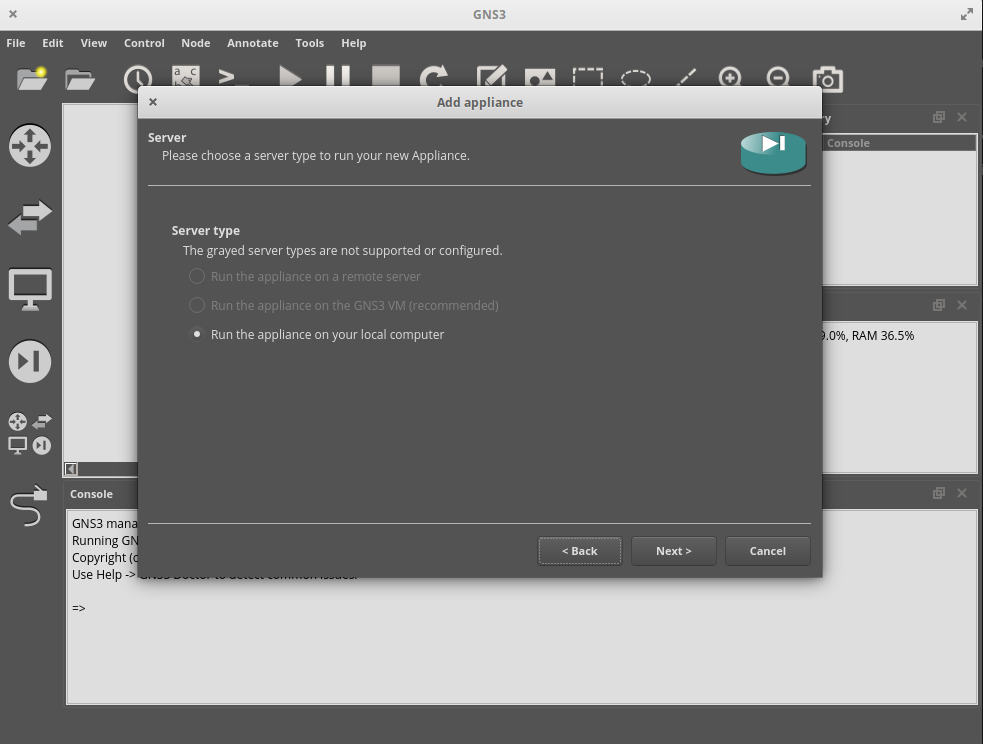
Disini saya menginstall nya di gns3 local, jadi resource yang di gunakan langsung menggunakan perangkat laptop.
Lalu Next, Click Refresh, lalu ada beberapa list version semua seri FortiGate kita disini memakai v6.0.0,
FortiGate 6.0.0 on the list, click on FGT_VM64_KVM-v6….., Lalu Import image ForiGate kita lalu Click dan Next!
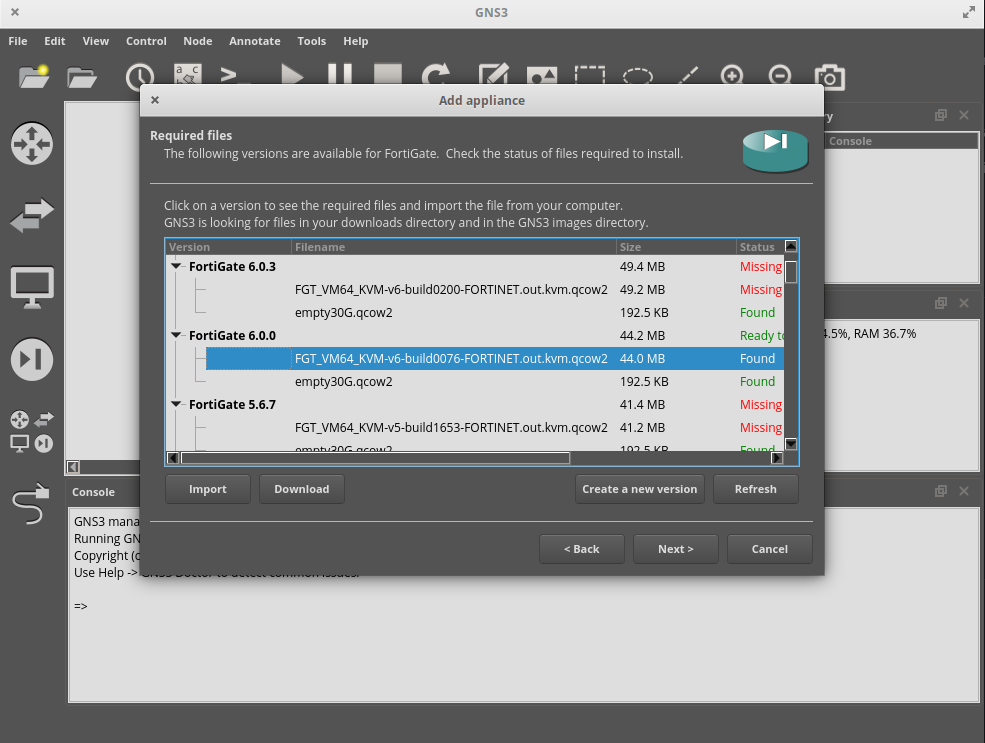
setelah menambahkan 2 file ya itu appliance dan image maka ready to install, click on Next, then choose /usr/bin/qemu-system-x86_64 (v2.5.0) for Qemu binary, then click Next, Next, Finish.
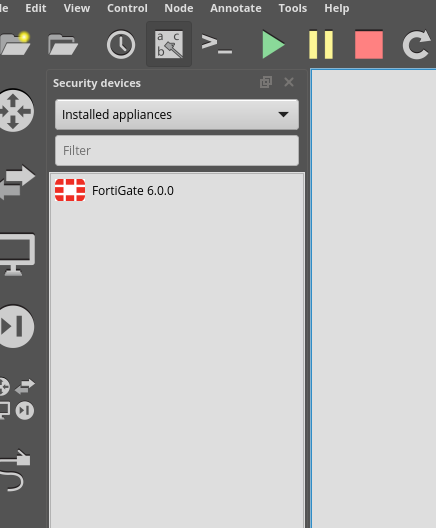
Fortigate Ready
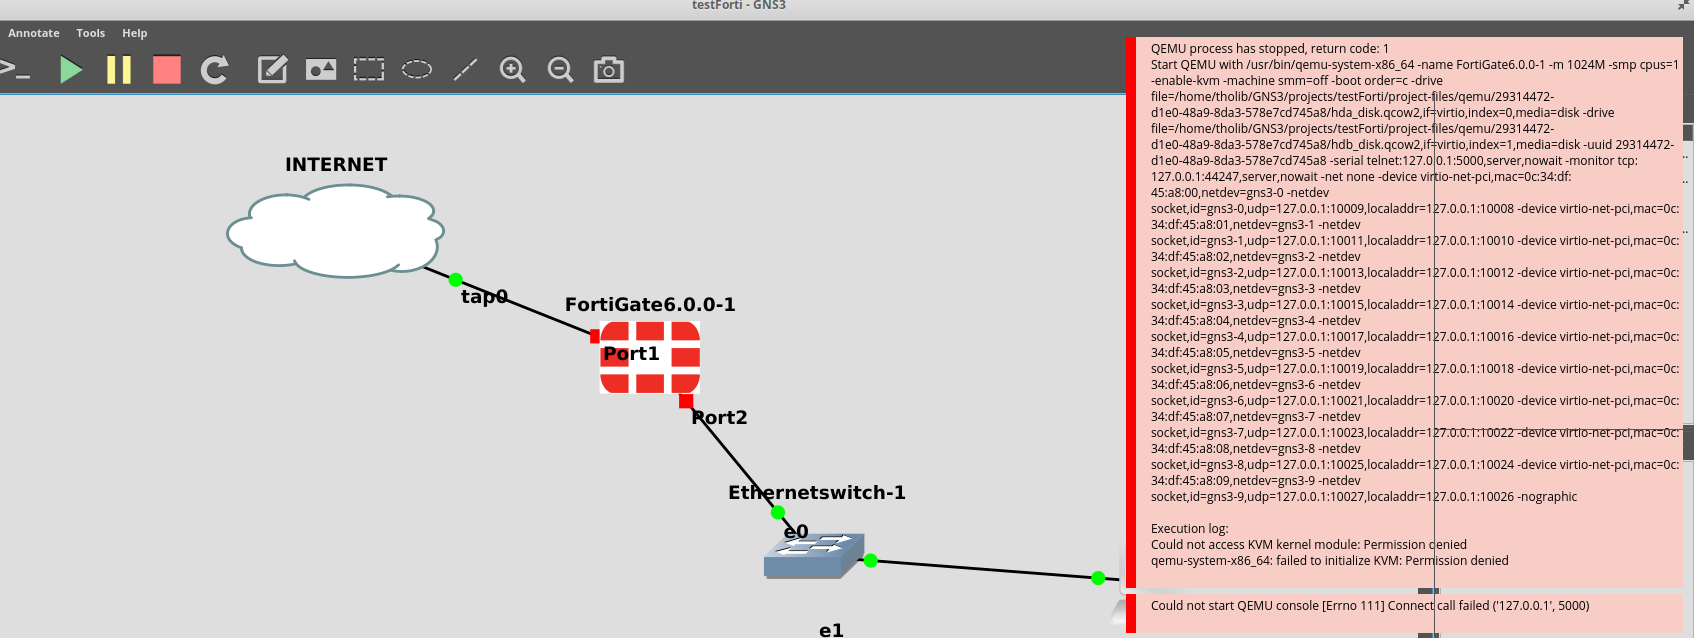
Network Topology & Configuration
Untuk lab ini saya menggunakan Topology Sederhana
- INTERNET
10.10.10.1/24 - Loopback (Untuk bisa di akses secara lokal di Laptop)
192.168.10.1/24 - Fortigate 1
192.168.10.2/24 - Switch 1
- Client/VPCS 1
172.168.10.2/24
untuk yang menggunakan Linux ubuntu bisa membuat ethernet virtual dengan TUN/TAP Sumber!
Selanjutnya kita Start Jika ada Indicator Eror Seperti Di Linux Ubuntu Maka lakukan perintah seperti ini
sudo chown root:namausernamemu /dev/kvm

FortiGate Configuration
Right-Click on FortiGate, lalu click on Console to access the CLI. Masukan username is ‘admin’ dan blank password.
Trying 127.0.0.1...
Connected to 127.0.0.1.
Escape character is.

System is starting...
Starting system maintenance...
Scanning /dev/vda1... (100%)
Scanning /dev/vda2... (100%)
Serial number is FGVMEVGDUEEQXH72


FortiGate-VM64-KVM login: admin
Password:
Welcome !

WARNING: File System Check Recommended! Unsafe reboot may have caused inconsistency in disk drive.
It is strongly recommended that you check file system consistency before proceeding.
Please run 'execute disk scan 17'
Note: The device will reboot and scan during startup. This may take up to an hour
FortiGate-VM64-KVM #
lalu kita set port3 untuk ethernet yang terhubung langsung ke loopback.
config system interface
edit port1
set ip your-private-ip/your-subnet-mask
set allowaccess ping http https ssh
end

show system interface (To verify the configuration)
My shell
FortiGate-VM64-KVM # config system interface
FortiGate-VM64-KVM (interface) # edit port3
FortiGate-VM64-KVM (port3) #
FortiGate-VM64-KVM (port3) # set ip 192.168.10.2 255.255.255.0
FortiGate-VM64-KVM (port3) # set allowaccess ping https http ssh
FortiGate-VM64-KVM (port3) # end
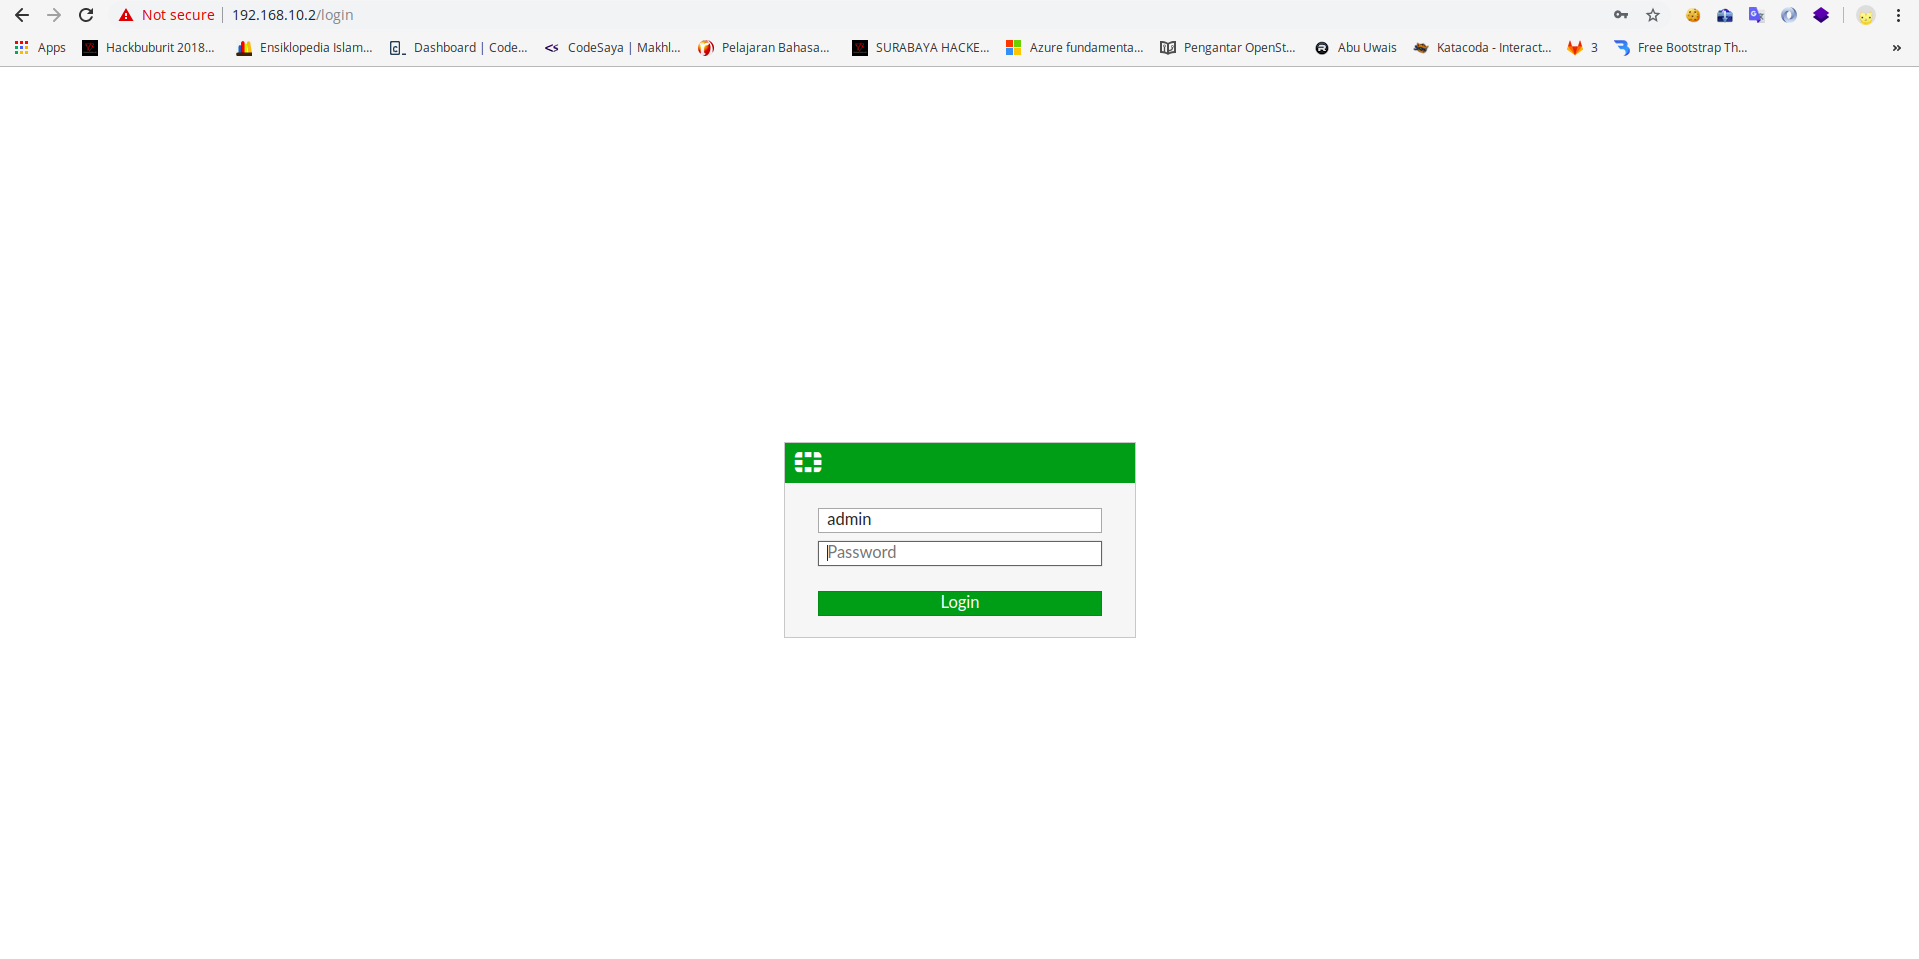
Selanjutnya kita buka browser untuk mengakses GUI dari fortigate melalui web
Masukan username is ‘admin’ dan blank password.
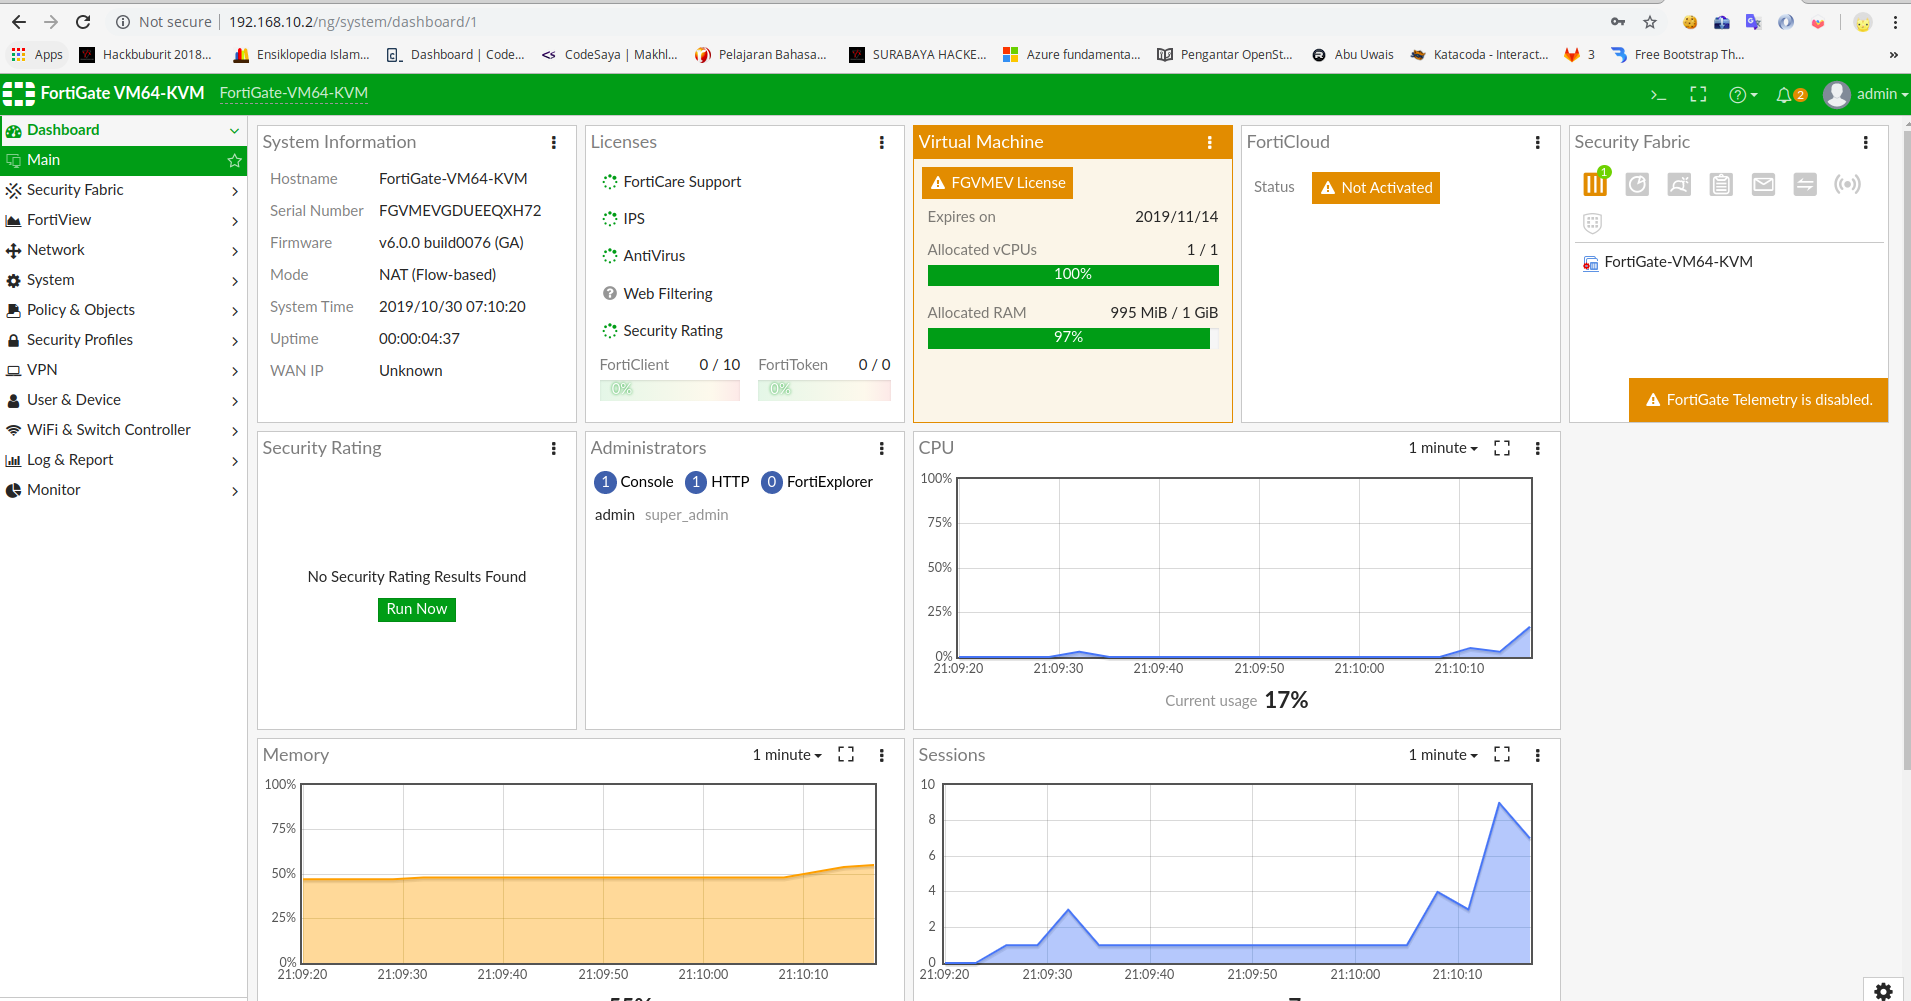
DONE Ini tampilan GUI FortiGate
KESIMPULAN
Kita telah mengkonfigurasi FortiGate dengan menggunakan media GNS3 Lab selanjutnya kita akan membahas lebih dalam penggunaan Firewall FortiGate ini seperti bagaimana dia mem block port dan mengatasi masalah security pada suatu jaringan.
Referensi
- https://docs.gns3.com/appliances/fortigate.html
- https://help.fortinet.com/fos50hlp/52data/Content/FortiOS/fortigate-system-administration-52/The%20CLI/using_cli.htm
- https://www.linkedin.com/pulse/fortigate-inside-gns3-cli-web-access-issa-itani/

Comments