
[Synology] Setup Xpenology DSM 7.1.1 Install on Virtual Box With Redpill
Guide ## Prerequisites
1. Preparing Bootloader IMG
Use the Download button in the middle of the beam link below.Download the gz file In it 0.9.2.6 version vmdk.You can decompress the gz file one more time and use the img file.
(Full File)
https://github.com/pocopico/tinycore-redpill/tree/v0.9.2.6
2. Unzip the package. We will need tinycore-redpill.v0.9.2.6.vmdk
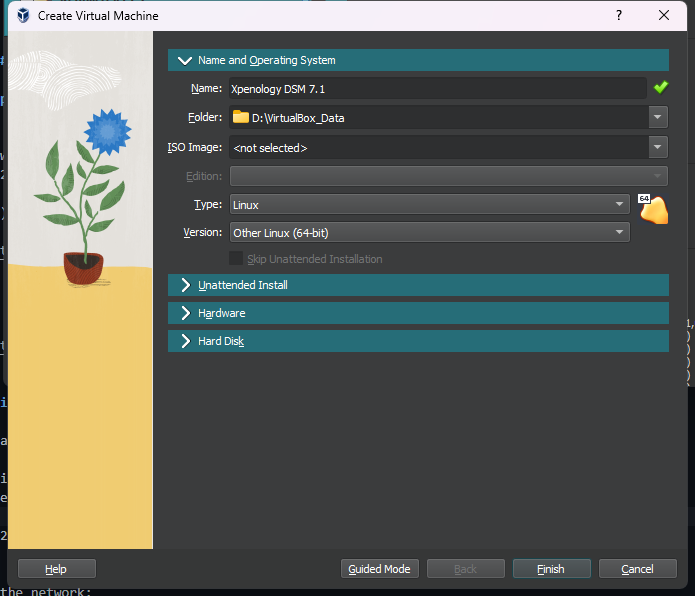
4. Create a Virtualbox VM:
4.1 Operation System: Other Linux (64bit)
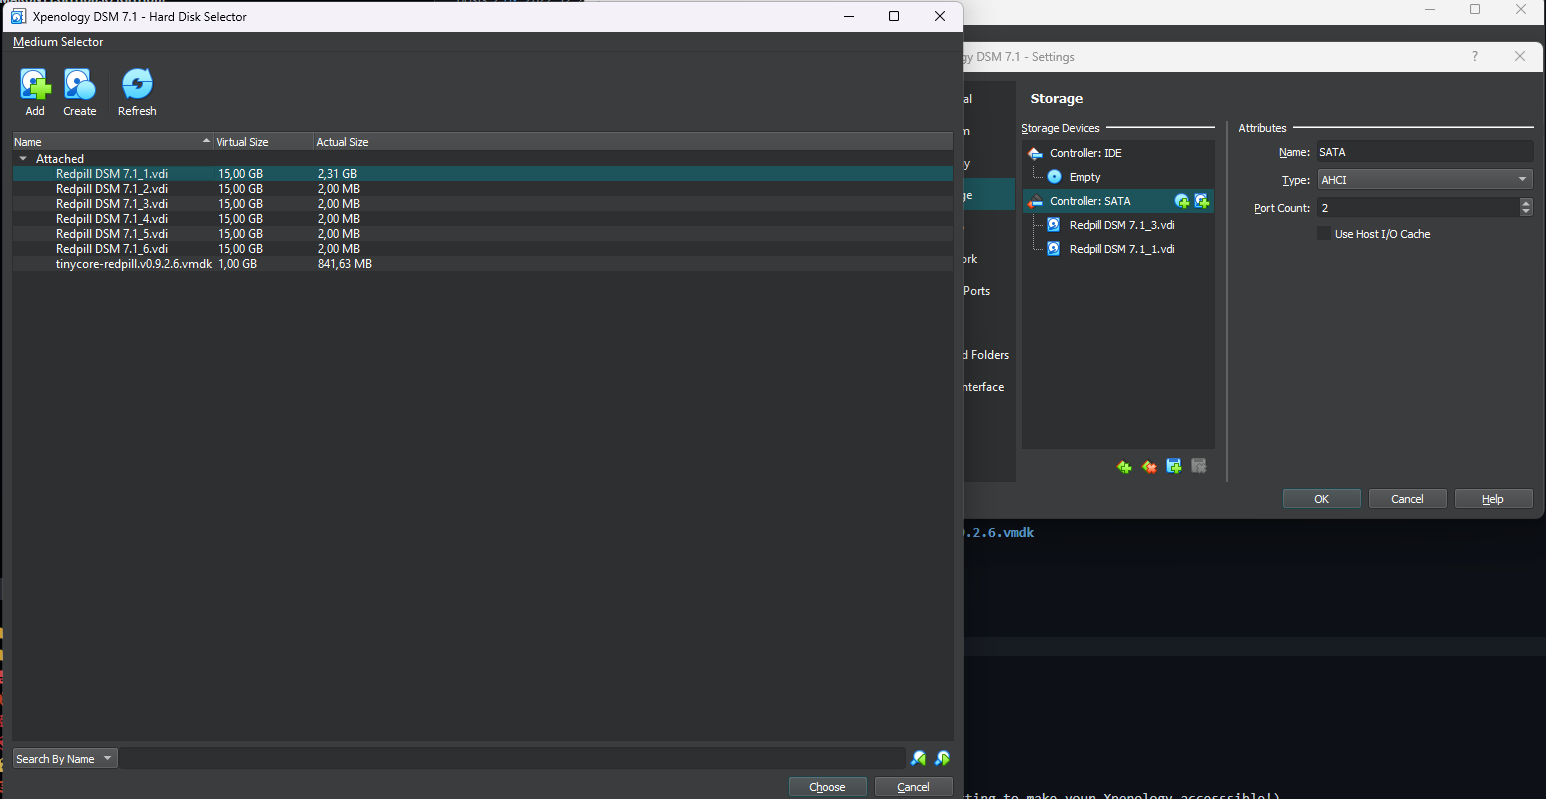
- Mount the file tinycore-redpill.v0.9.2.6.vmdk
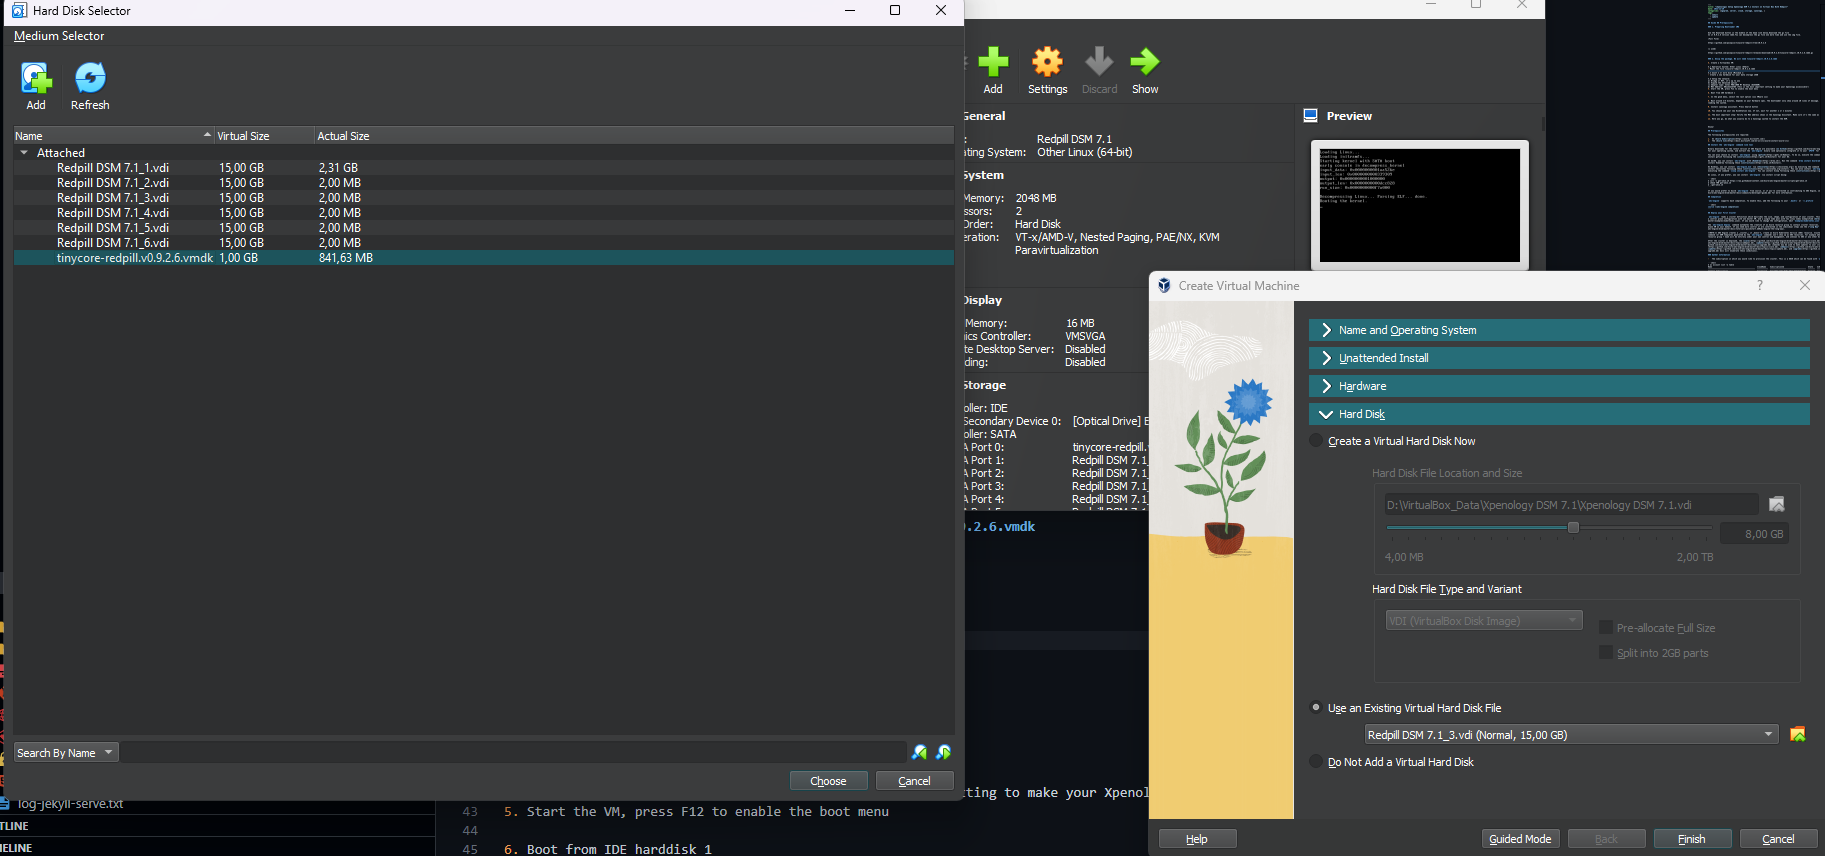
4.2 mount 2 or more disk *Minimum 1:
- Create a new harddisk for your data storage 15GB
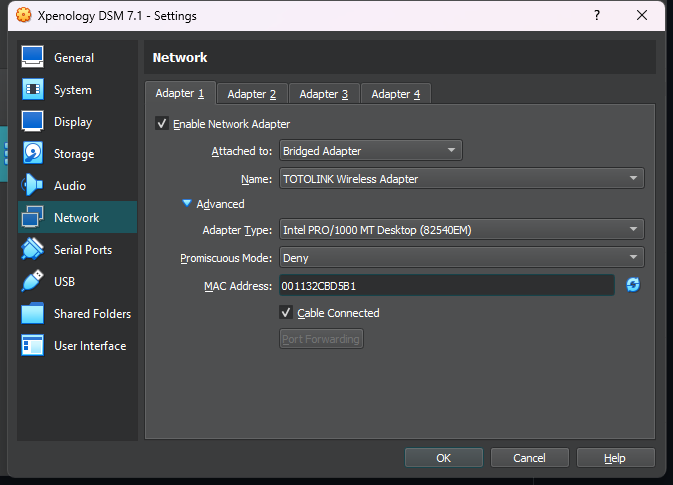
4.3 Setup the network:
a) Bridge or NAT, it’s up to you
b) Expand the Advanced option
c) Adapter type: Intel PRO/1000 MT Desktop (8254OEM)
d) MAC Address: 001132CBD5B1 (This is the most important setting to make your Xpenology accesssible!)
5. Start the VM, press F12 to enable the boot menu
6. Boot normal till redpill terminal showing and exec
# select broadwellnk latest version
./rploader.sh serialgen DS3622xs+
./rploader.sh build
./rploader.sh build broadwellnk-7.1.1-42218

# run again
./rploader.sh serialgen DS3622xs+
./rploader.sh build broadwellnk-7.1.1-42218

# after finish then reboot
sudo reboot
7. In the grub menu, select the last option (xxx SATA xxx)
8. Wait around 2~5 minutes, depends on your Hardware spec. The bootloader only show around 10 lines of message. Don’t worry. Be patient and it’s still loading the system.
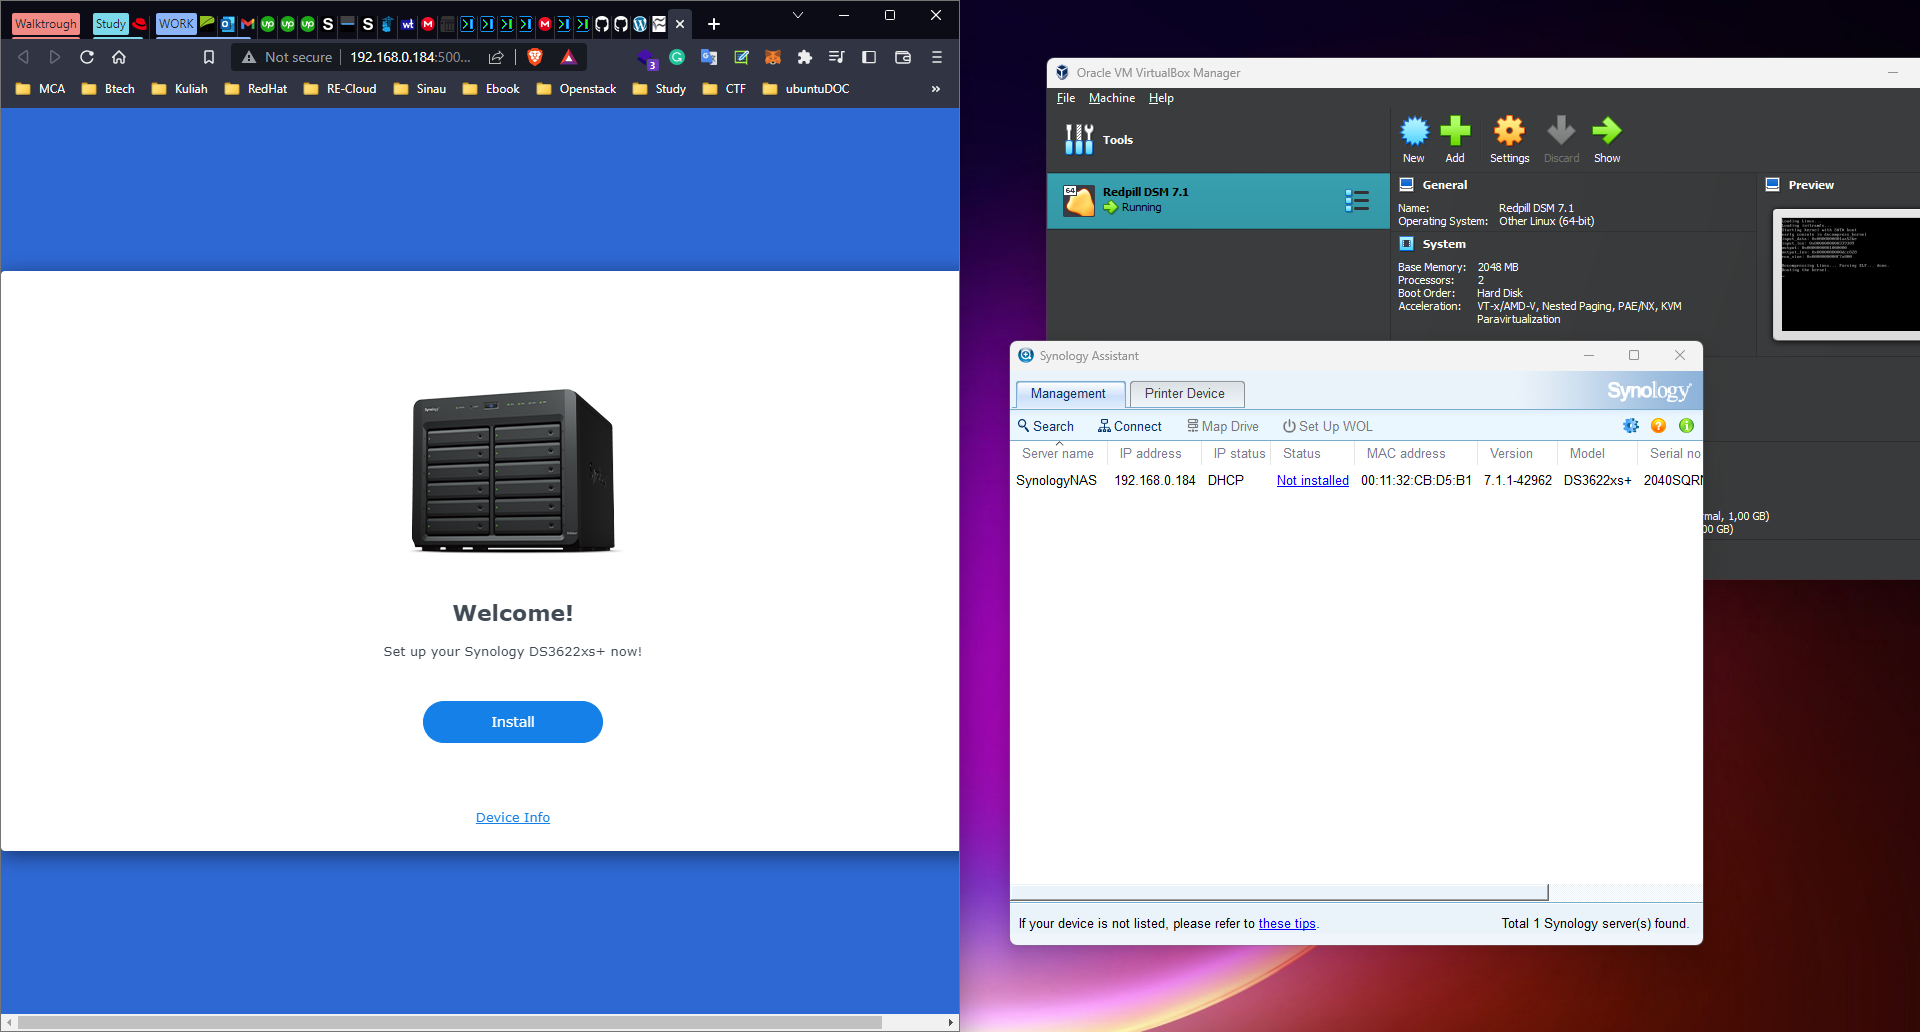
9. Install synology assistant. Press Search button
10. You should see your new DiskStation now. If not, wait for another 1 or 2 minutes
11. The most important step! Verify the MAC address shown in the Synology Assistant. Make sure it’s the same as the one you set in step 4.3d above.
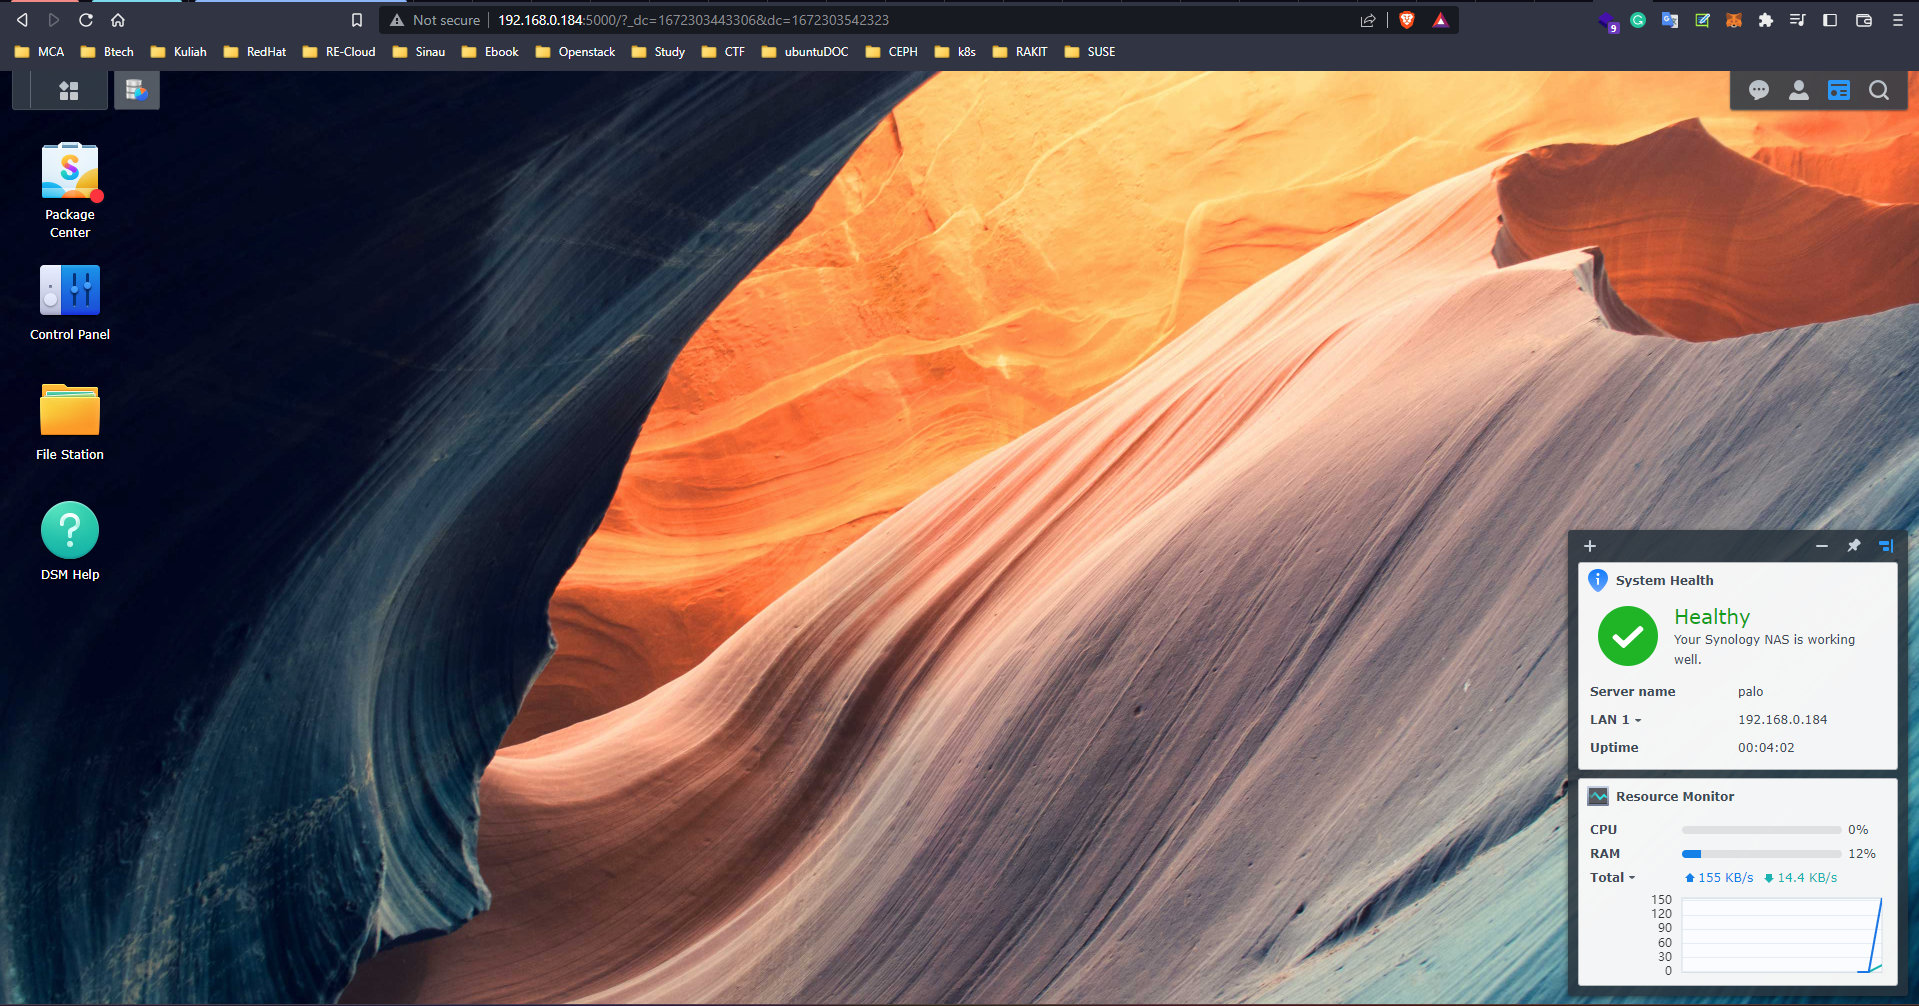
12. Here you go, do what you usually do to a Synology system to install the DSM.
Reference

Comments