
How to change Jekyll theme to Minimal Mistakes
Recently I migrated my whole blog from the Cayman theme to the Minimal Mistakes theme, which can be found here. This blog post explains how to quickly get up and running with the Minimal Mistakes theme.
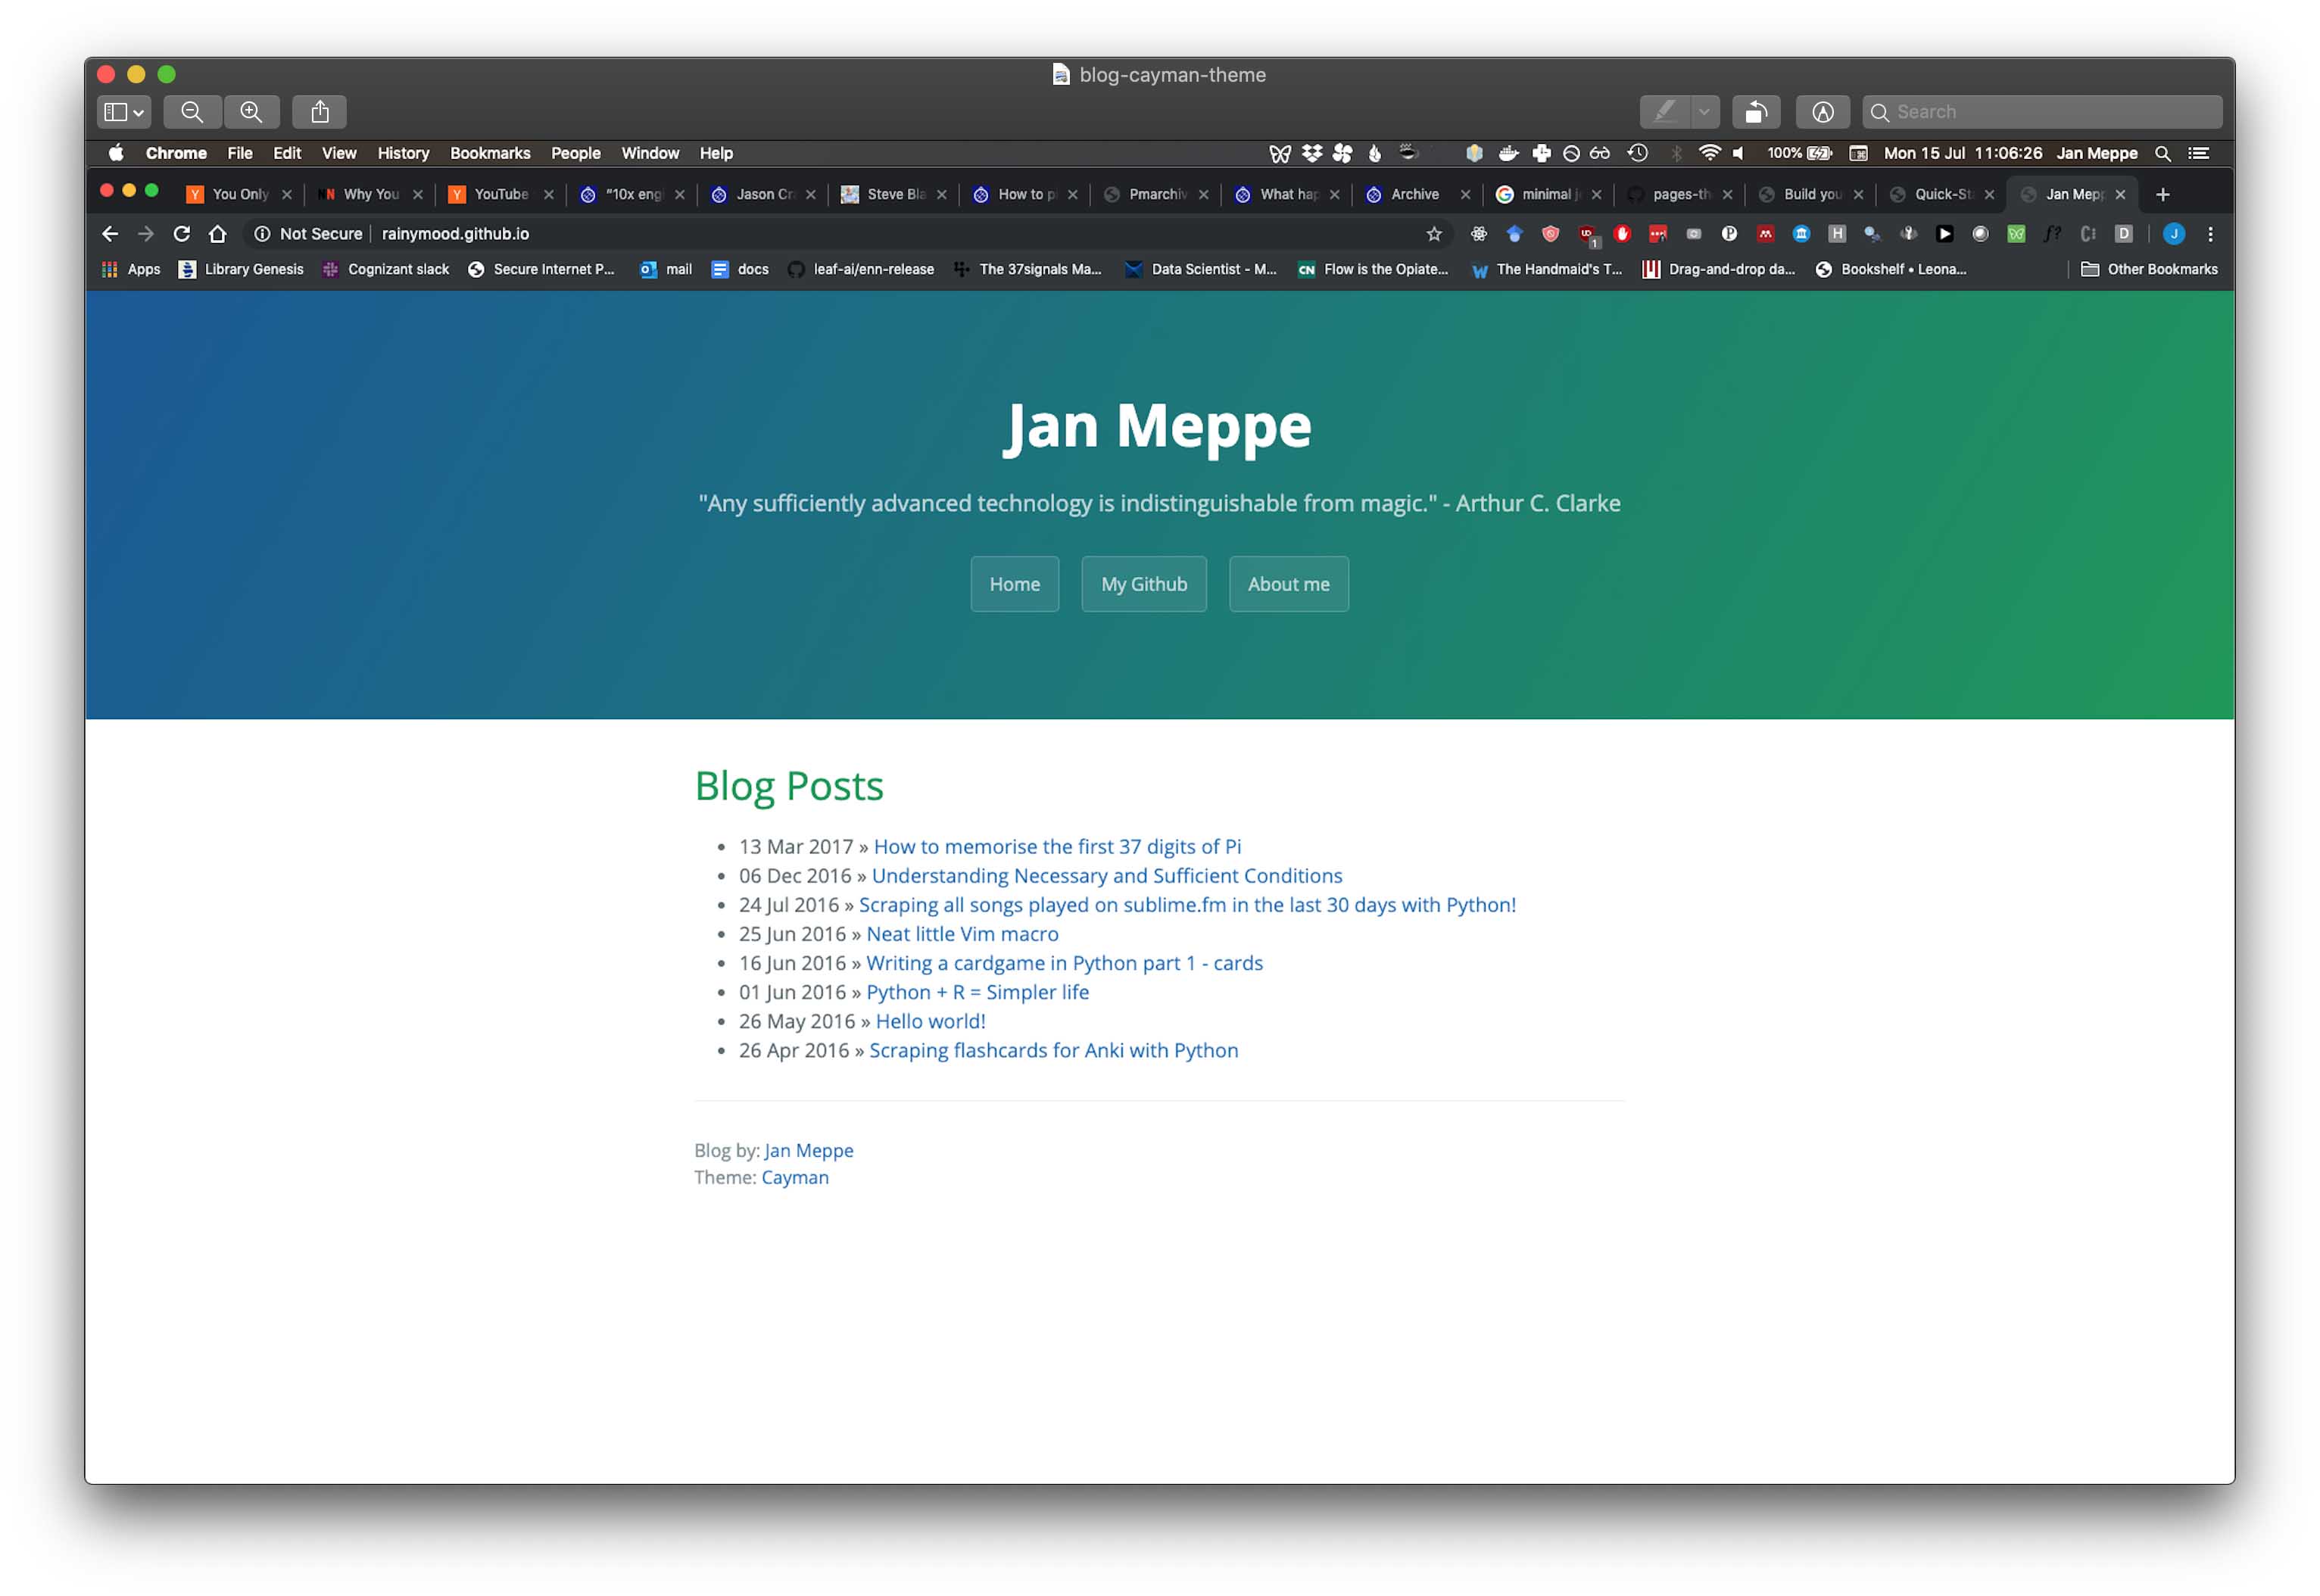
Before
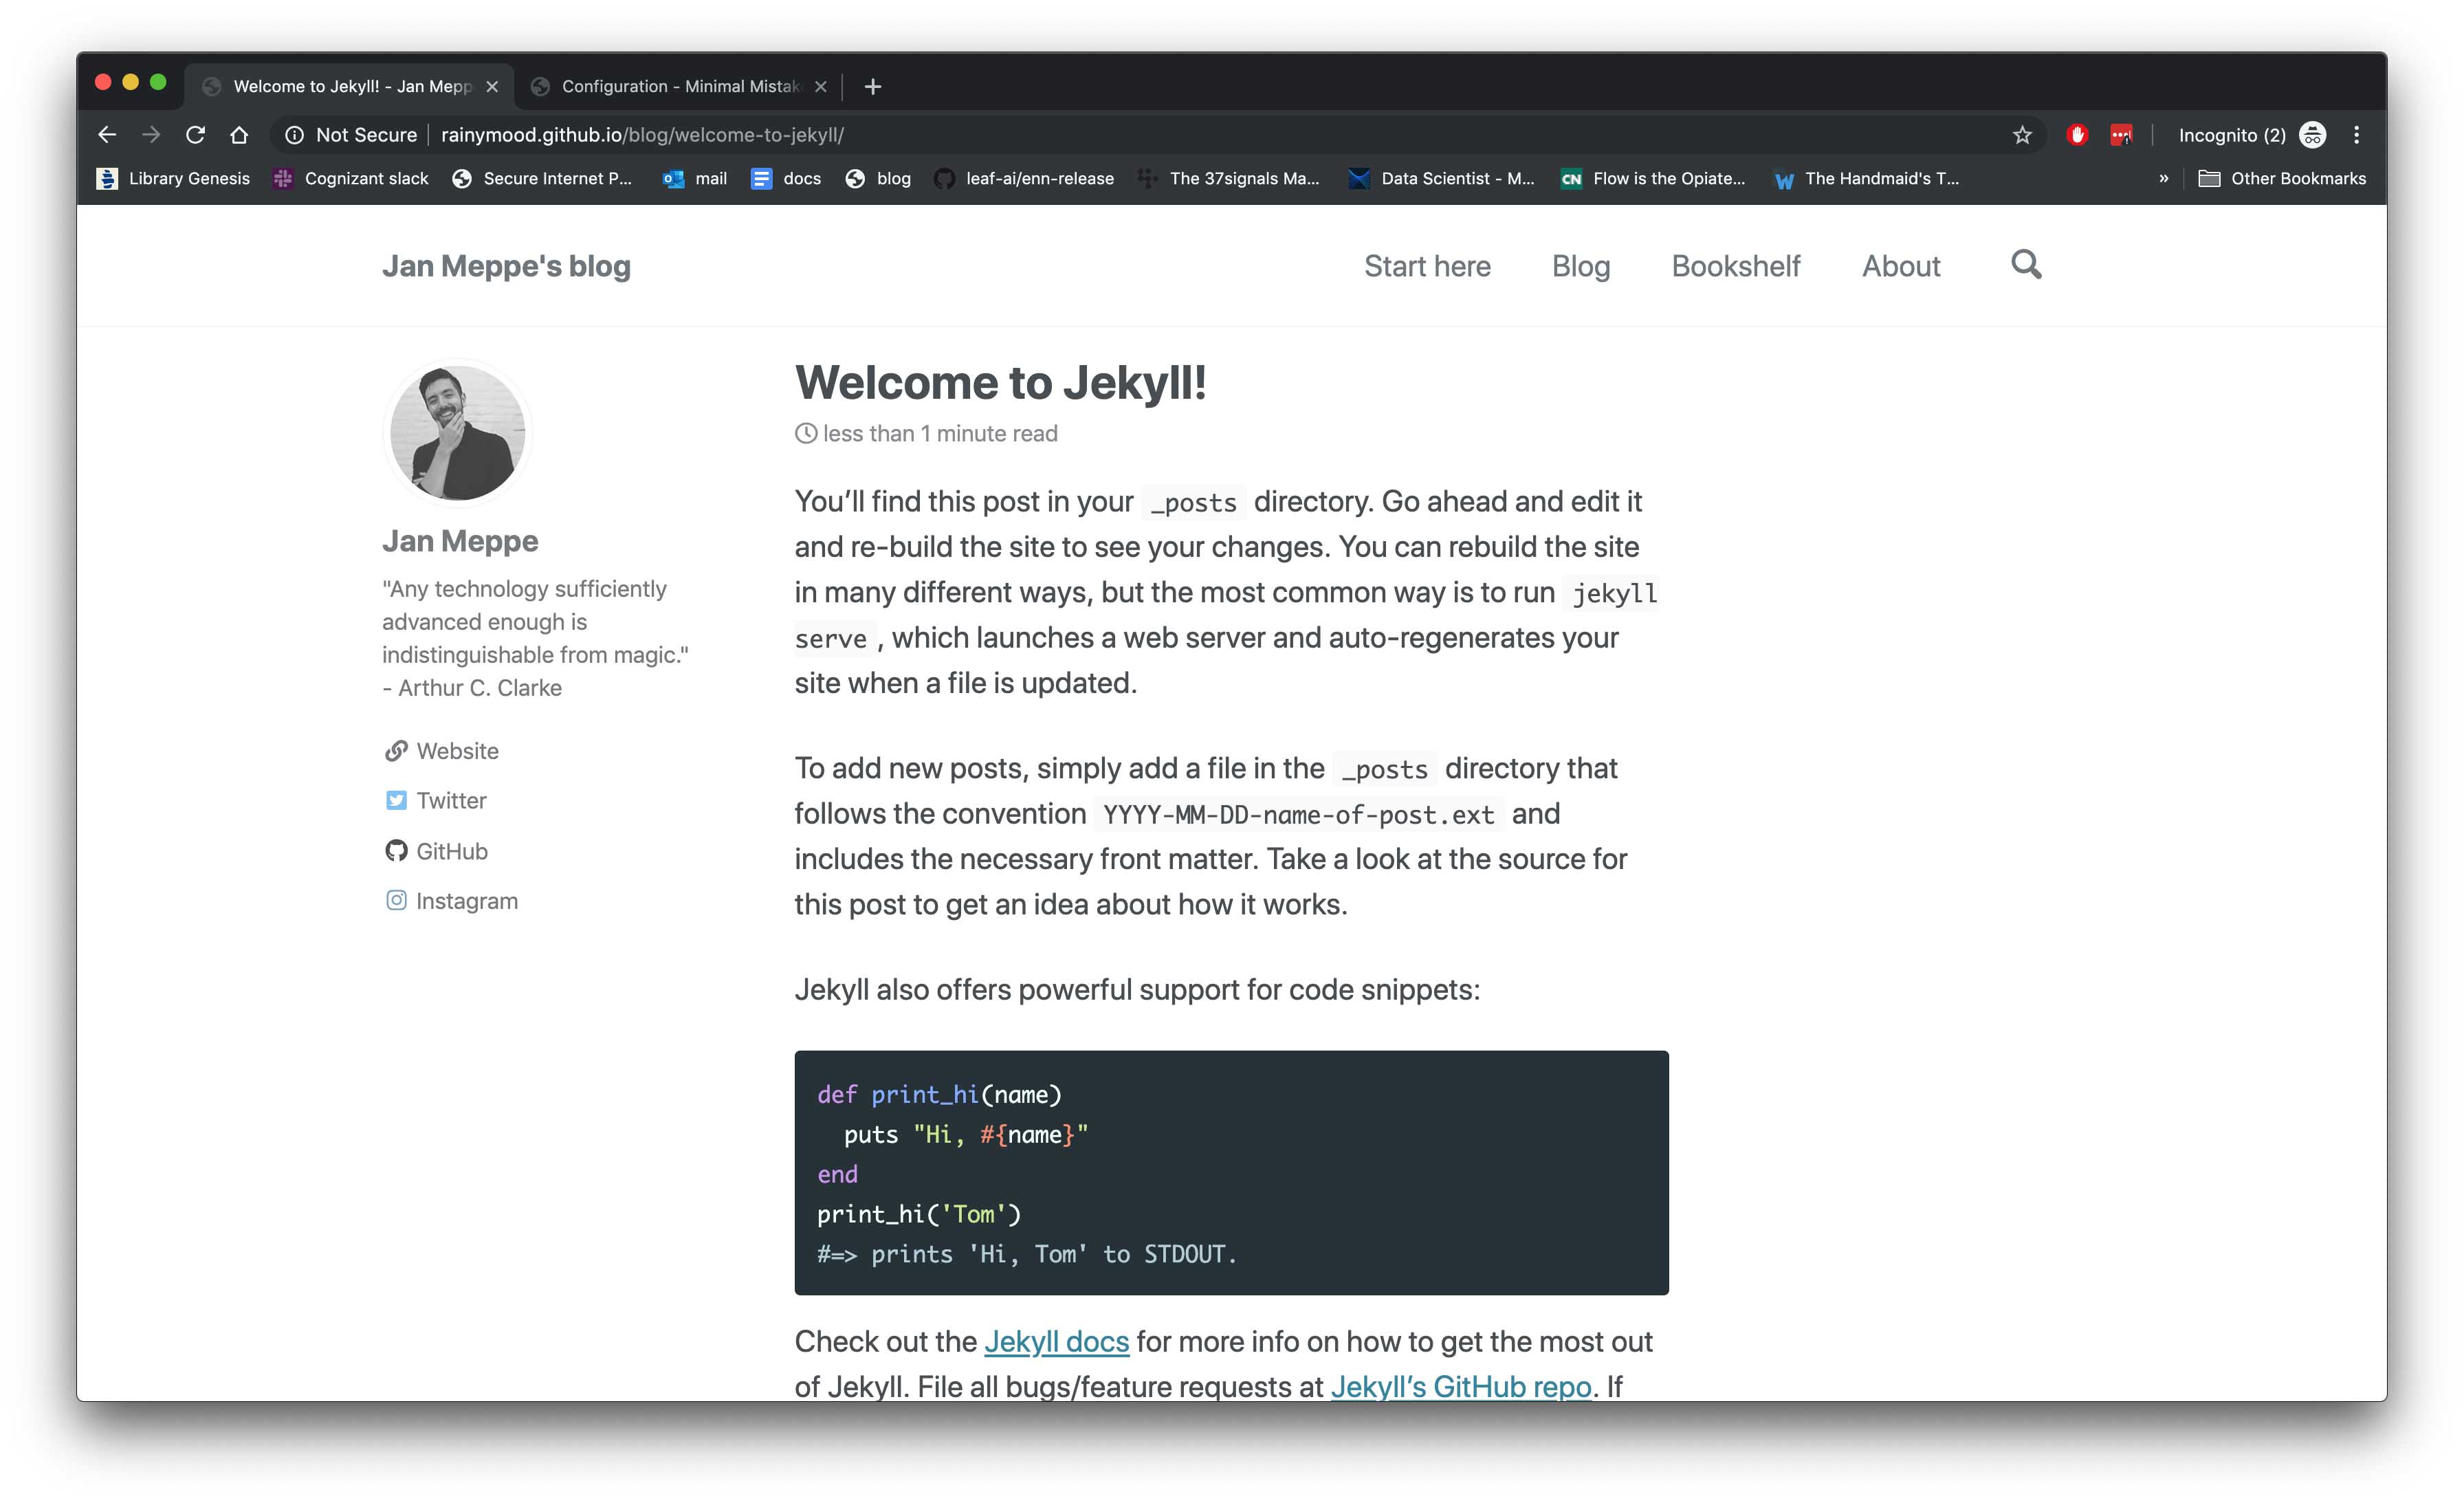
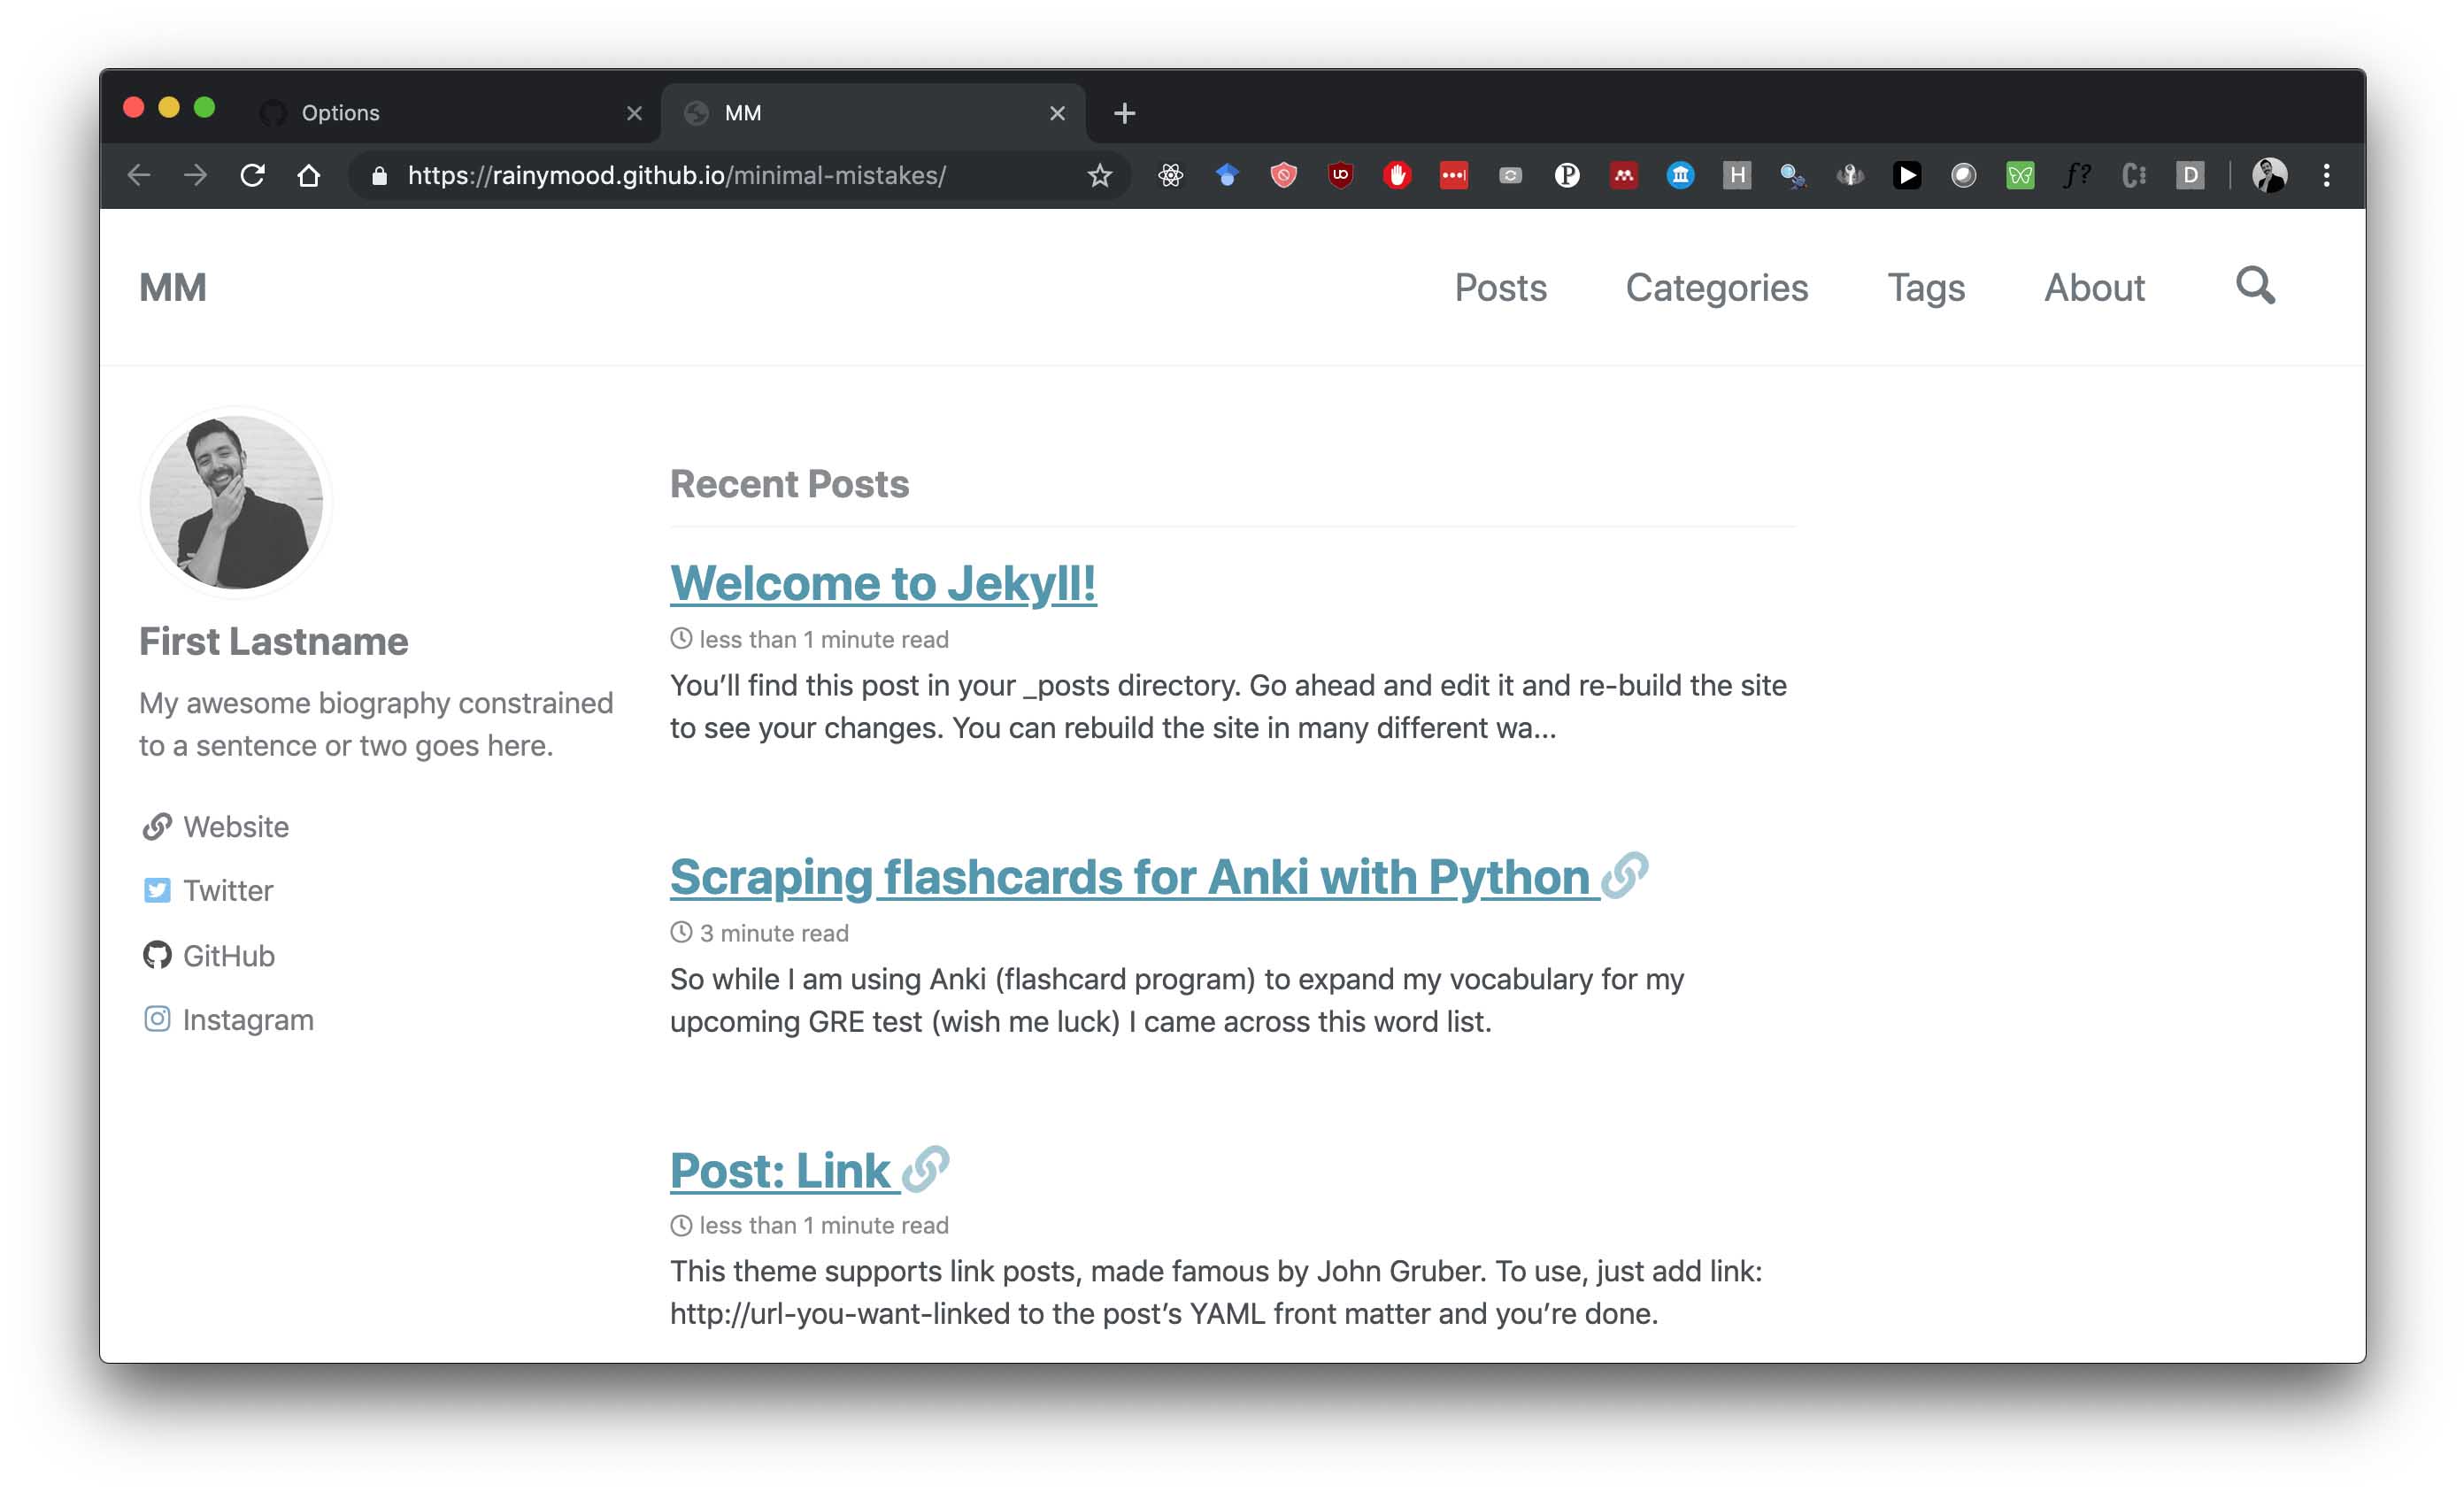
After
Setting this is up is ridiculously simple if you know what you’re doing. I am making this blog post because I want to save people the headache of spending a whole day debugging something they don’t actually have to because they followed the wrong instructions.
This post assumes that you are going to run your blog using Github pages. Note that you can only have 1 Github pages repo that points towards <username>github.io, all other Github pages are going to point towards <username>github.io/<repo-name>.
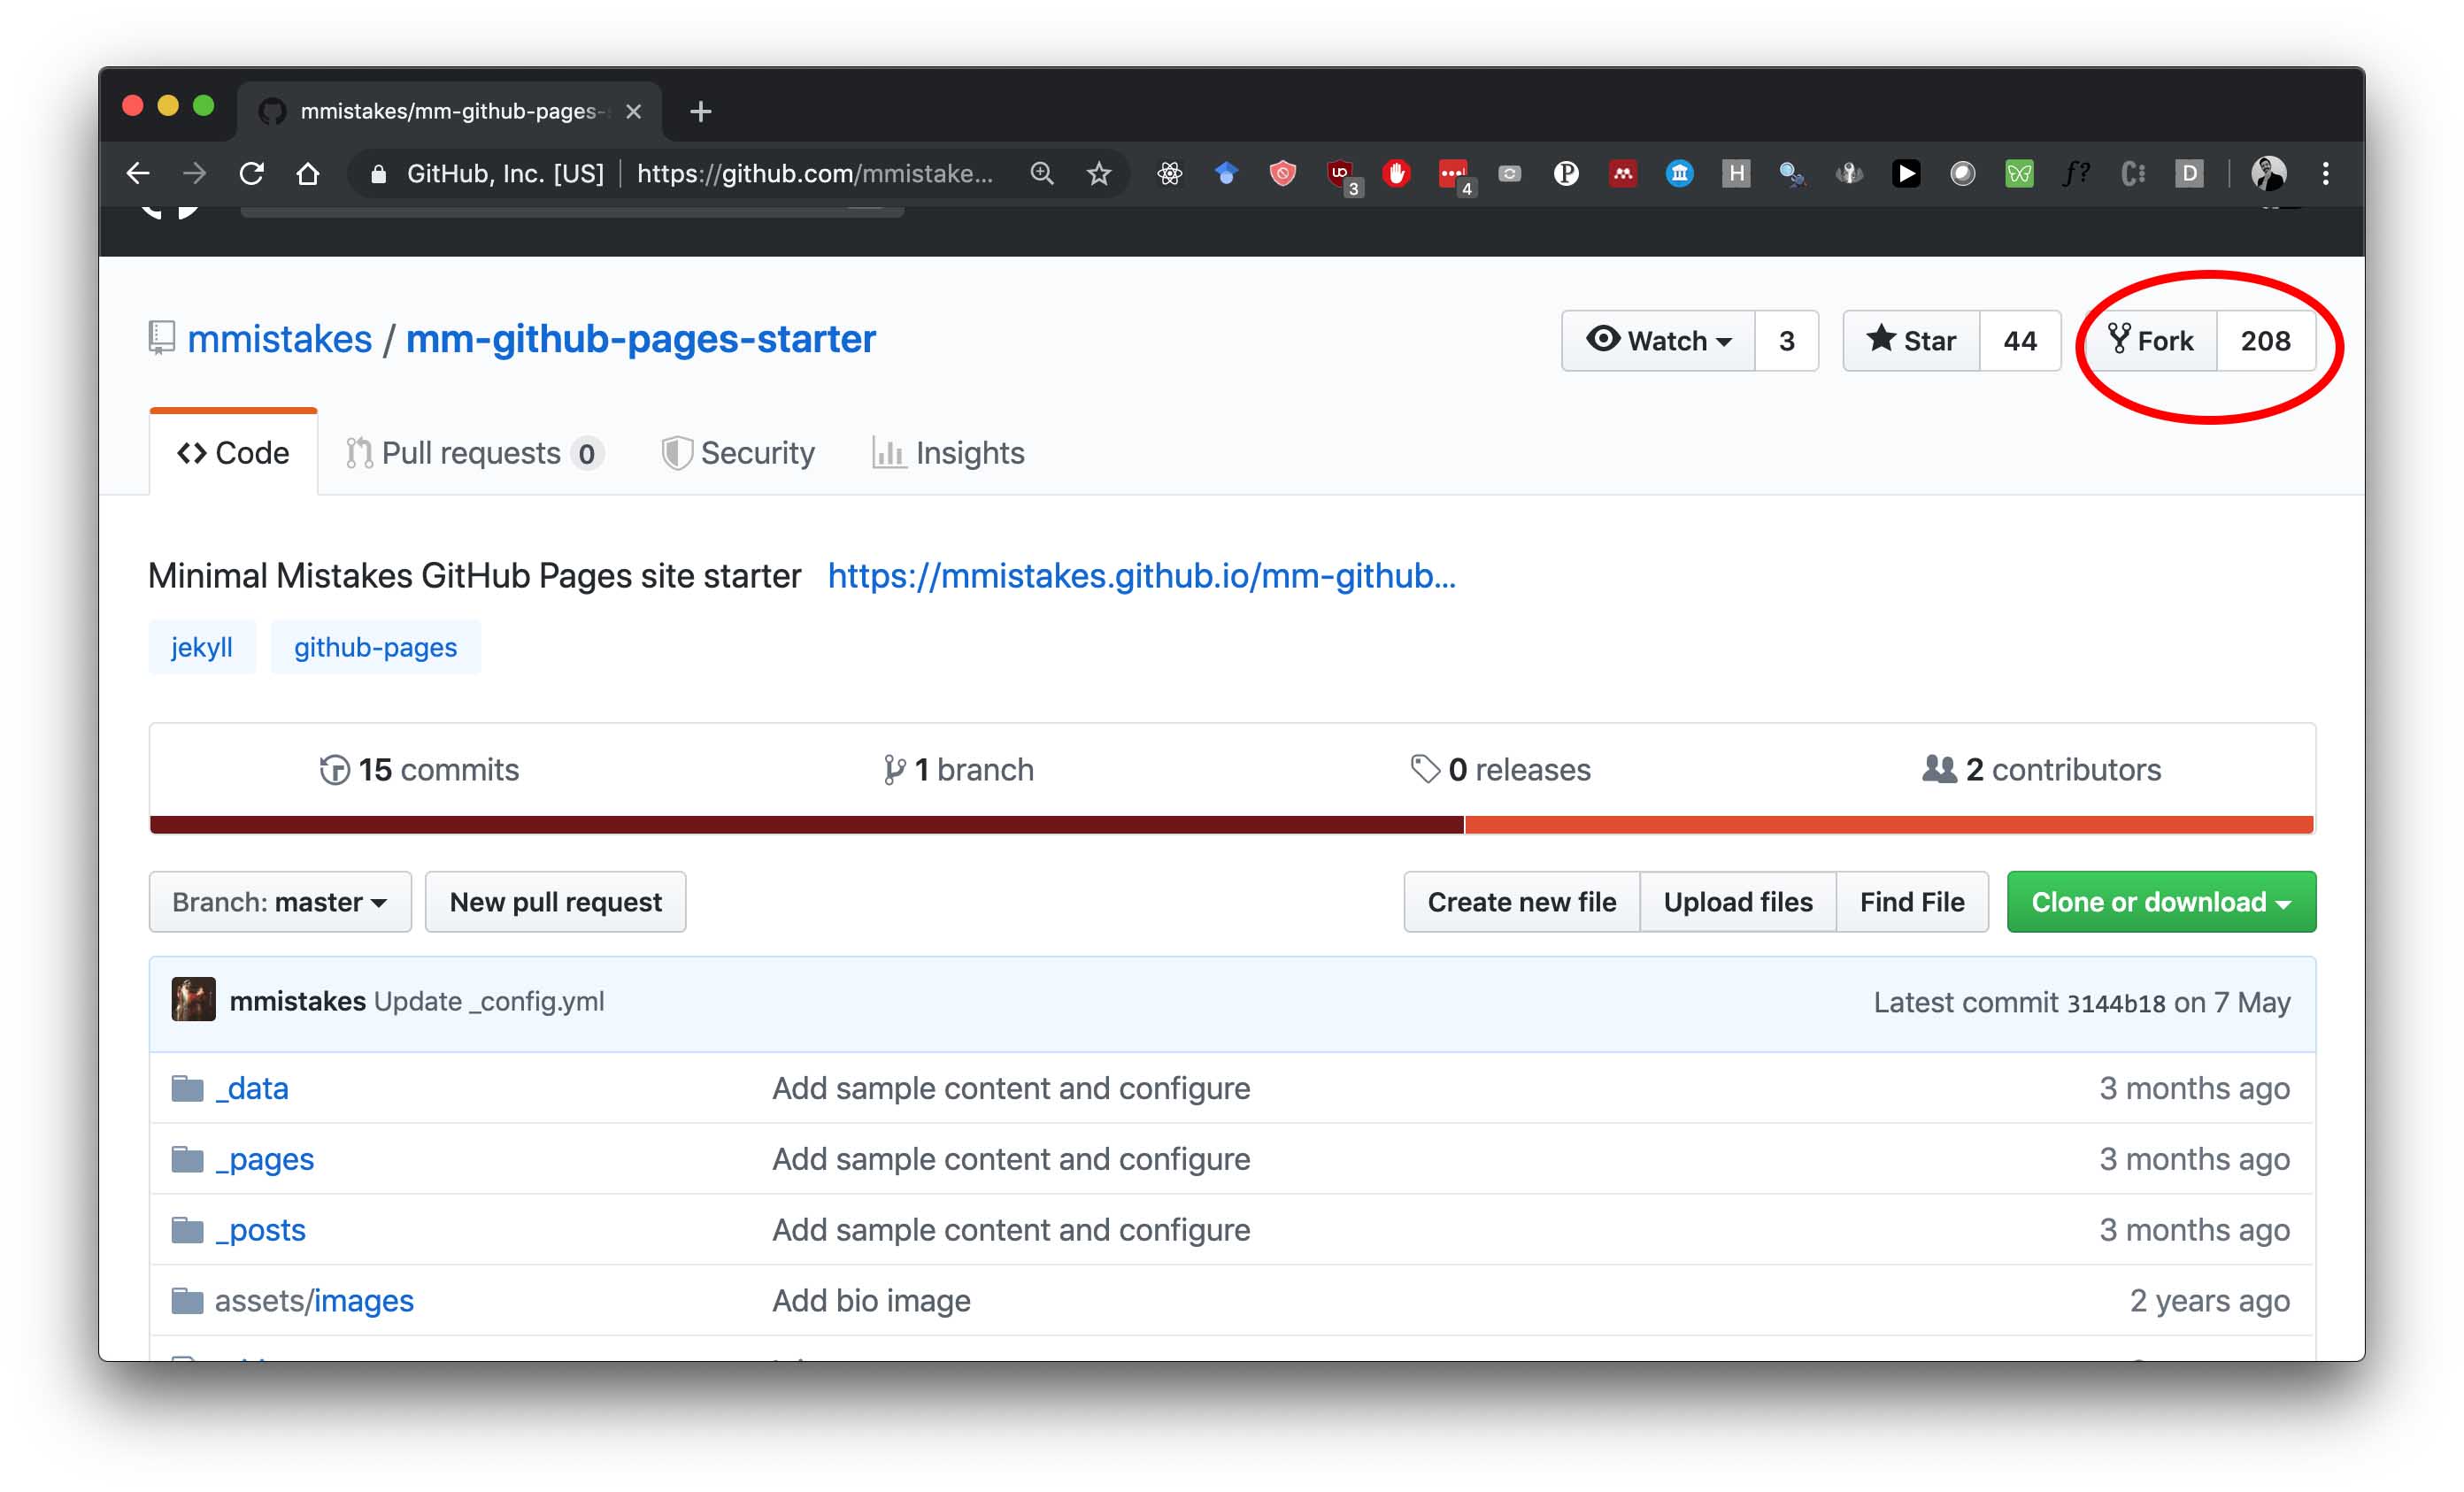
Step 1. Fork the minimal-mistakes starter repo
Go to the Minimal Mistakes Github pages starter found here and fork the repo.
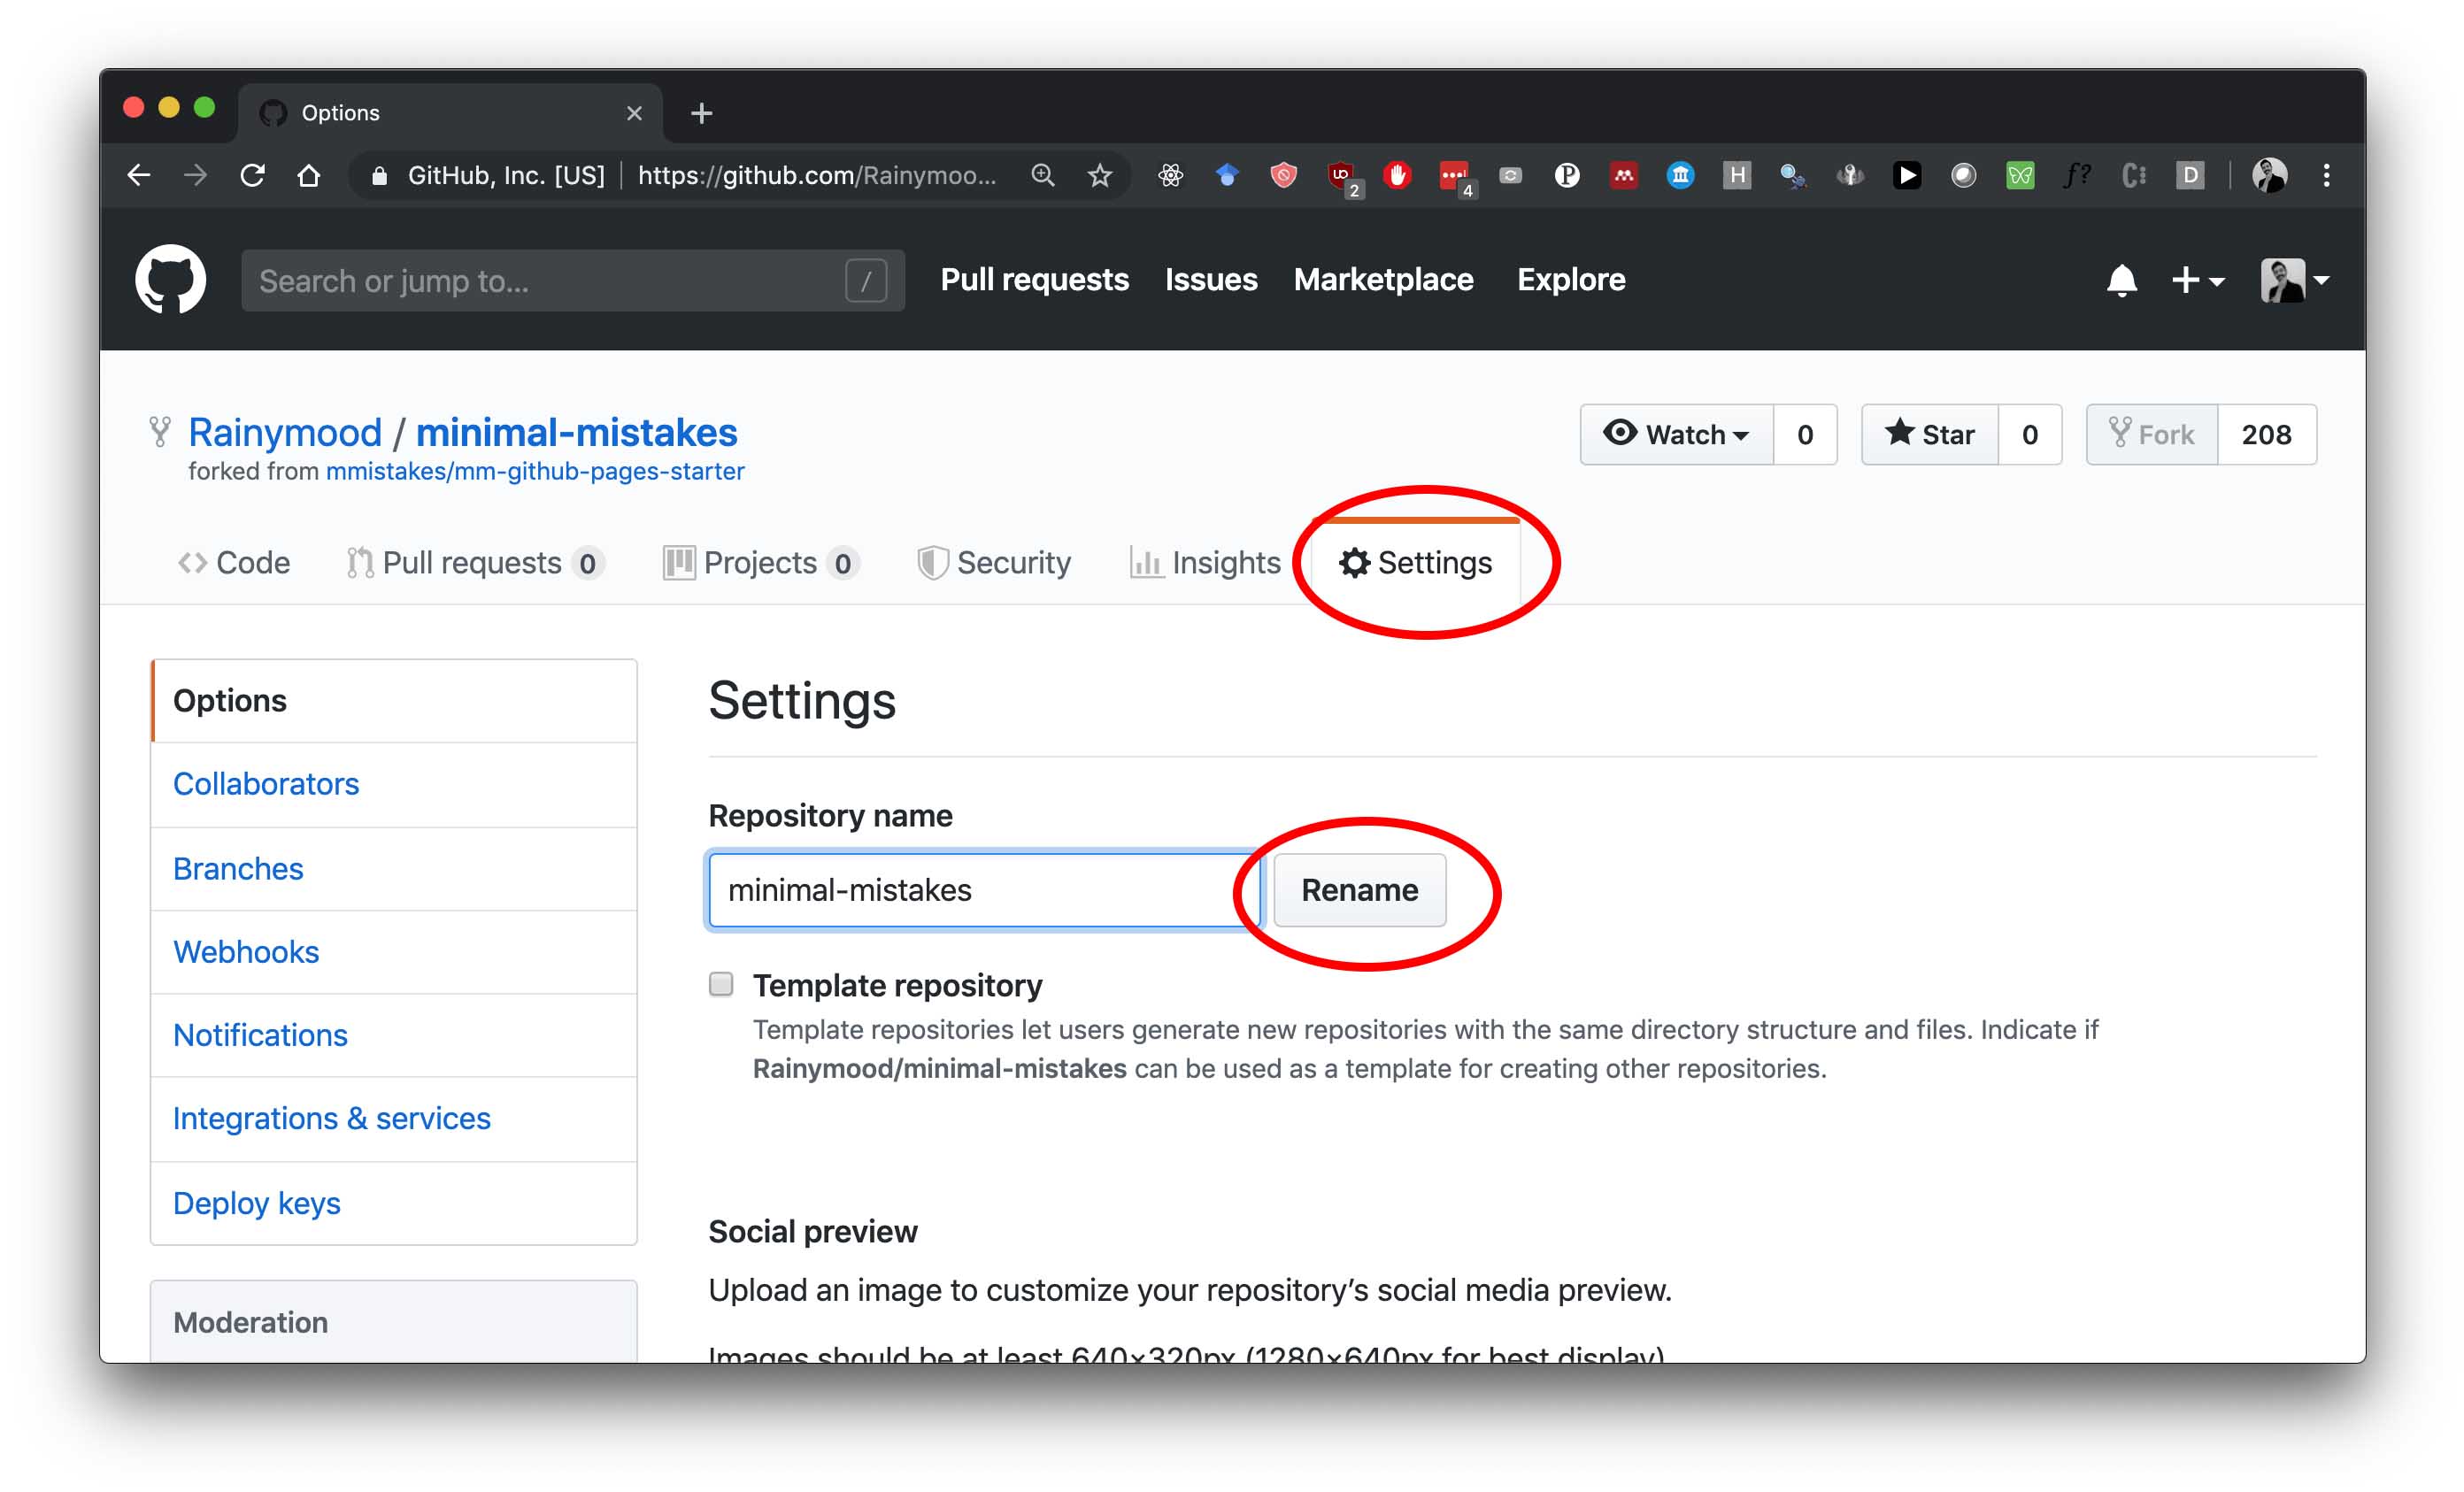
Step 2. Change the repo name
Click on settings and change the repository name. I chose to rename the repo to minimal-mistakes.
Option 1 If you rename the repo to <username>.github.io then your Github pages will be hosted on <username>.github.io. For me this becomes rainymood.github.io which can be found here.
Option 2 If you rename it to anything else, say minimal-mistakes, then your Github pages will be hosted on <username>.github.io/<repo-name>. For me this becomes rainymood.github.io/minimal-mistakes which can be found here.
Step 3. That’s it!
It’s that simple.
Don’t be like me and waste a full day debugging something you don’t actually have to. Just fork the repo and start publishing!
This is what the final product looks like and you can find it here.

Comments